
It’s a vital piece of equipment for any rifle shooting that’s even remotely long distance — join us as we walk through the steps involved in mounting a rifle scope.
For many hunters and shooters, the warmer spring and summer months allow time for some much needed maintenance, cleaning, and assessment of your firearms. In the process, it’s not uncommon to pickup a new rifle to break in before heading into the field later in the year. With a new rifle, that often means you’ll need to know how to mount a rifle scope as well.
While using iron sights can be a fun way to shoot, adding a scope to your rifle extends your reach and improves the accuracy of those hard to place shots.
In this article, I’ll show you a step-by-step process detailing how to mount a rifle scope.
We’ll start with the tools you should have around the home. Check out the video below if you want more of a visual guide – Of course, you can read the full write up below.

How to Mount A Scope
Tools Needed

- Rifle
- Scope
- Scope Mounting Base (optional on some rifles)
- Scope Rings
- Degreaser
- Gun Oil
- Removable Threadlocker (Do NOT use Permanent or Red Loctite)
- Screw Driver
- Allen or Torx Wrench
- Small Level
Picking Out a Rifle Scope And Accessories
Rifle

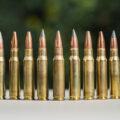
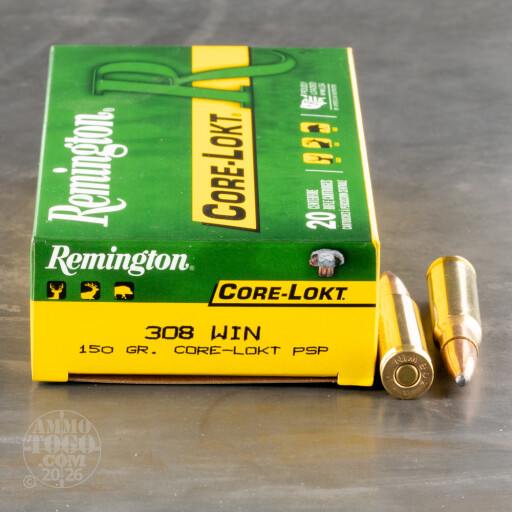
For this project we’ve decided to go with the popular Remington 700, chambered in .308. This will be a go-to rifle this fall for whitetail or mule deer up in the hills. Once you have your rifle picked out you need to decide on the type of scope that will best fit your hunting needs.


Scope
As the saying goes, “You get what you pay for”. With that in mind, choose your optic accordingly. If you want sub-MOA groupings expect to spend a little more money than whatever the value deal is down at your local big box store. Once you decide on quality, you need to figure out what focal length and reticle will work best with your hunting or shooting needs.

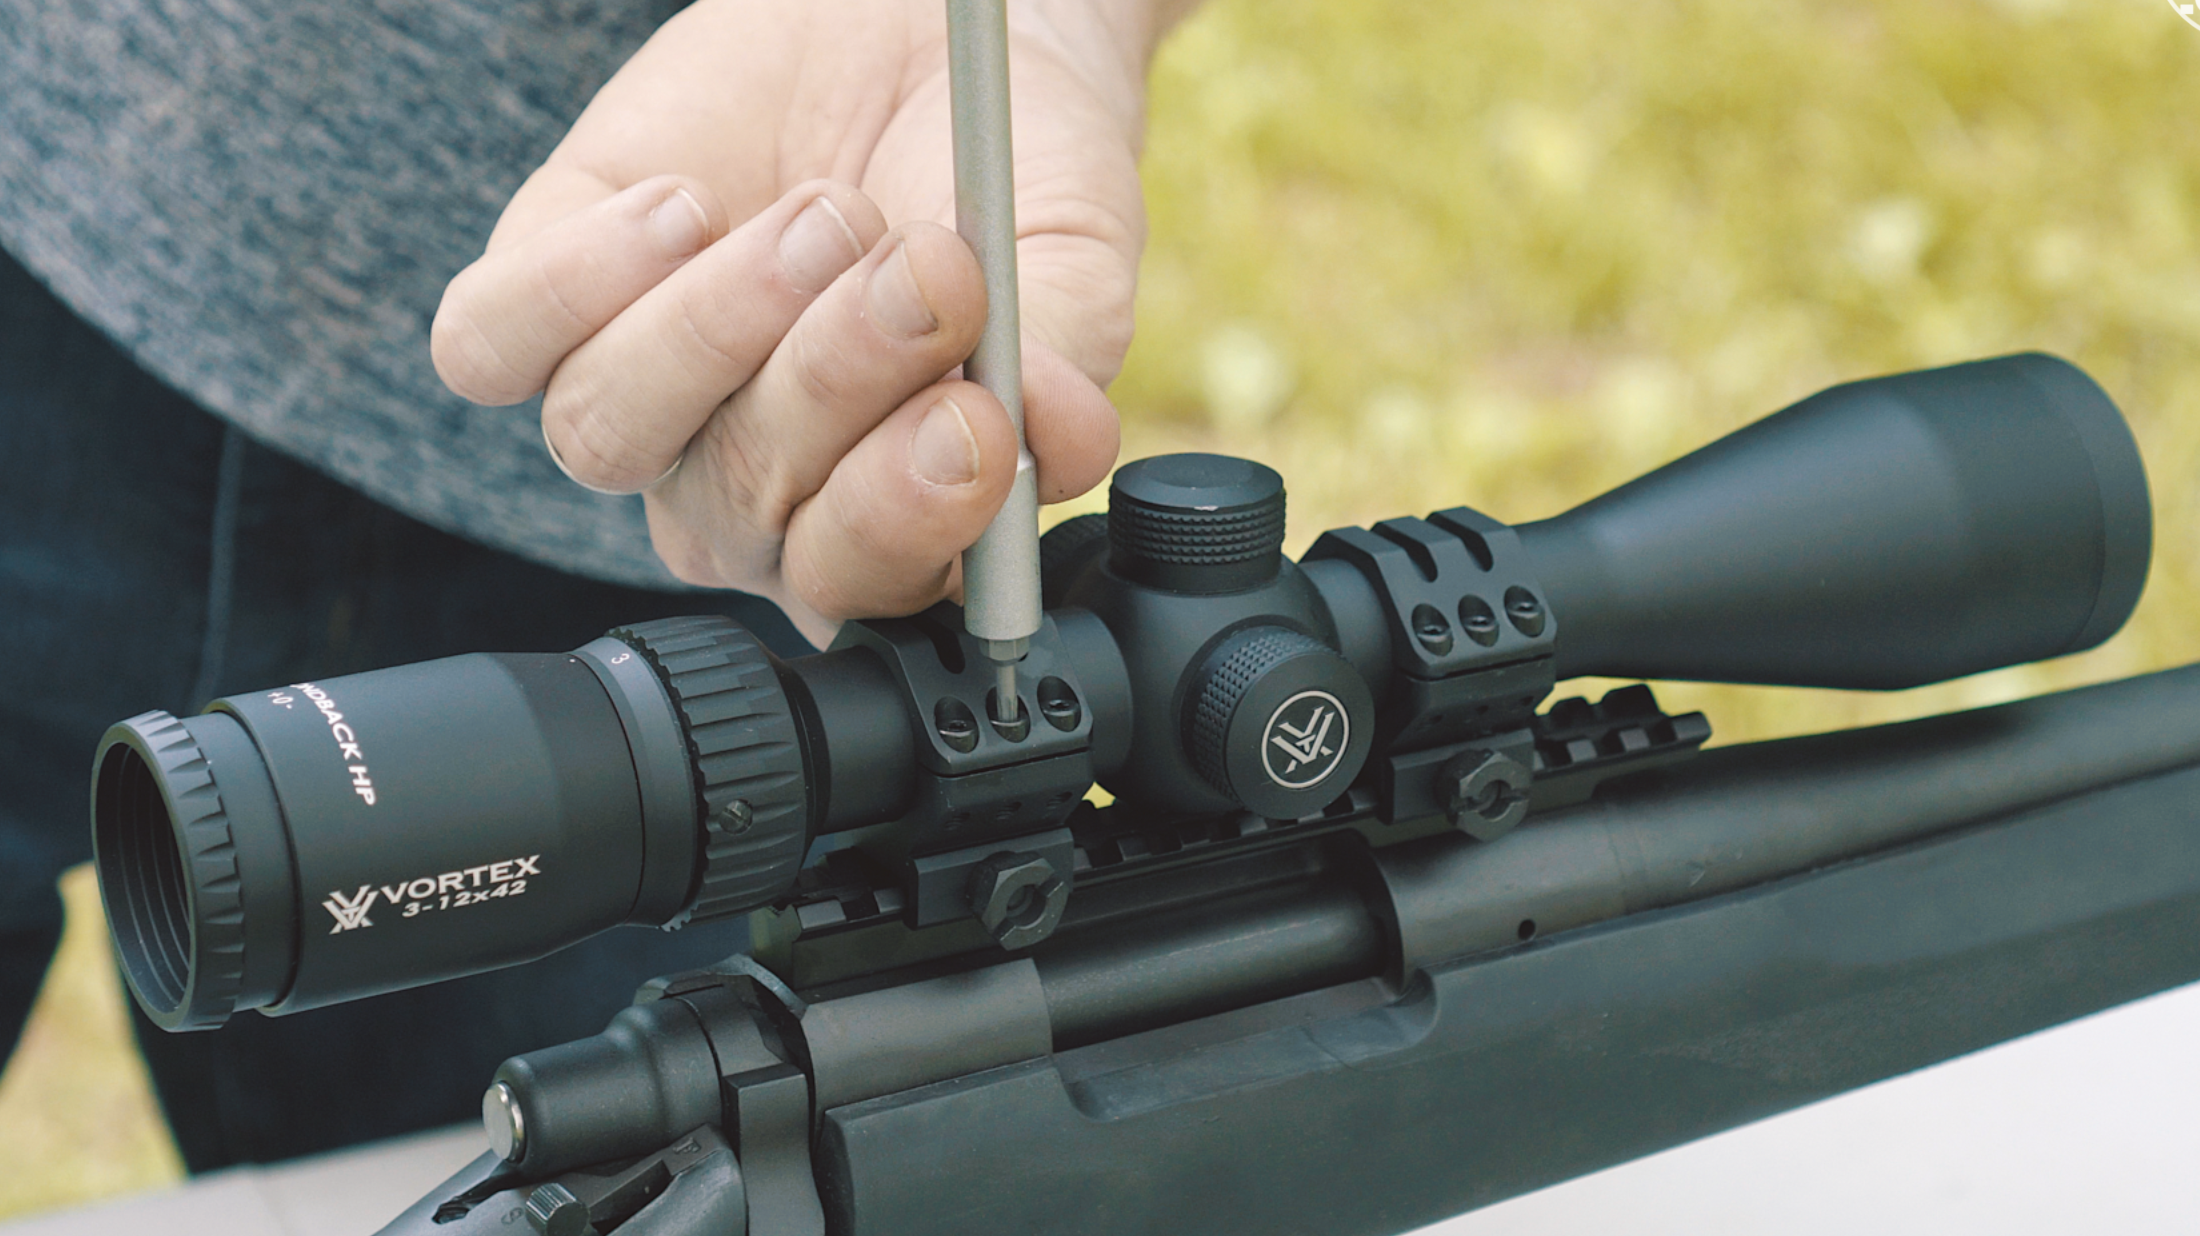
This rifle won’t be shot much outside of 200 yards, so for our build we decided to go with a Vortex Diamondback HP. This is a 3-12×42 optic.
One Piece versus Two Piece Scope Base
Your scope base can make or break your optics setup. Just like the quality of the scope, don’t skimp on the quality of the base if you want accurate shots. For most rifles out there, you have a choice between using one and two piece bases.
One piece bases will give you a leg up on the stability of your scope. If you’re going to making consistent long range shots a one piece base will help you keep on target. Heavy scopes on hard recoiling rifles can also benefit from one piece bases, because they can be longer and even cantilevered off the front of the base.
Two piece scope bases come in handy if you need the extra clearance when loading through the action on a bolt action rifle. If you’re wearing gloves in the field and you need to reload or clear a jam, you will be glad you have the extra clearance from using a two piece base.

For this project, we decided to go with a standard one piece aluminum picatinny scope base. We can utilize the different mounting positions in the base to find the sweet spot and keep the scope firmly mounted in position.
Scope Rings
Next, you will need to pair the correct size scope rings for the scope and base you picked out. Always pick the out the scope rings that will allow you to mount the scope as closest to the gun as possible. This helps with portability and when dialing in accuracy.
Our Vortex scope requires 1 inch, medium height rings that fit our picatinny base.

For the precision shooters out there, you may want to look into purchasing a scope ring alignment lapping kit. This will ensure your scope rings have a dead hold on your optic. Since this additional step involves actually removing some of the material from the scope rings it is usually best handled by a trained gunsmith or firearm professional and the process will not be addressed in this post.
Mount a Rifle Scope – The Installation Process
Clean Mounting Surfaces

The first step in installing your scope is to properly prep your rifle to accept the mounting of the scope base. You will want to remove any grease, residue, or dirt that could cause your scope base to not fully seat onto your rifle. By removing the plug screws from the top of the receiver you will have access to degrease each screw hole. Make sure you use a properly sized screw driver to remove the screws, so to not mar your receiver.
Secure and Level the Scope
After cleaning your rifle secure your it in a vise, lead sled, or other device while installing the scope. You’ll also want to go ahead and level your rifle when securing it. All you need for this step is a short level you that you can typically find in any small tool kit.
Place the level on top of the receiver and adjust your rifle as needed.
Mount the Base
Before attaching the scope base to your rifle, add a small amount of gun oil on the contact surfaces. Depending on the material, this will help deter rust from forming between the receiver and scope base.
Since the recoil from shooting your rifle can cause some of the screws to wiggle lose over time you should consider adding threadlocker to the screw threads. This will help everything stay put and ensure the screws are properly seated when tightened.

Make sure to only use removable threadlocker. Never use permanent or red Loctite! Permanent threadlocker requires temperatures of up to 500°F to loosen! Unless you’re a trained blacksmith or gunsmith, heating your receiver to those temps to remove an optic mount could easily damage your rifle.
After adding a small dab of threadlocker and gently tightening down the base, make sure the screws are not protruding into the action by visually and manually inspecting the receiver. By running your fingers inside the action it’s easy to make sure the screws will not hit your bolt.
Placing the Scope Rings and Test Fitting the Scope
Once the scope base is securely fastened, it’s time to mount the scope rings. First, disassemble and neatly organize all of the small screws and extra scope ring parts so not to lose anything.
You will want to mount the bottom of the rings first, and then test-fit your scope before adding the top rings. If you’re using a pictanny base like we are here, make sure to push the rings as far forward against the closest rail as possible when tightening your screws. This will allow the rings to fully seat against the rail, and not move from recoil.

With the firearm secure, go ahead and place the scope into the bottom set of scope rings. Make sure that the scope rings are far enough away from the objective bell and the adjustment turrets to allow for any needed adjustments. After finding good spacing and clearance with the rings, add threadlocker and hand tighten down the screws.
You will still need to set the eye relief, which is why you don’t want to torque the screws down just yet.
Setting Eye Relief
Properly setting the eye relief will help prevent the black halo you can sometimes see when looking through a rifle optic.

Gently pickup your rifle and shoulder it as if you were using it in the field. The trick here is to shoulder rifle with your eyes closed. Then, find a comfortable spot to rest your cheek on the comb of your stock. This will help you find the natural placement of your rifle. You won’t rely on the optic to position your head.
Once the rifle is comfortably shouldered open your eyes to find the correct eye relief. Adjust the scope as needed by moving it slightly forward or backwards to find the sweet spot. You should have a clear field of view when set at the correct distance.

If you still see a black halo through your scope, don’t be afraid to adjust the placement of your scope rings. You may need to give yourself a little more or less wiggle room, depending upon your set-up.
Leveling Your Scope

After finding the correct position for your eye relief, it’s time to level the scope.
Secure the rifle once more and place your level on the center turret. Adjust your scope until your your reticle is exactly perpendicular and parallel to your bore. Ensuring your reticle is level will help you accurately compensate for windage and elevation as needed in the field.
With the scope is fitted and level, it’s time to tighten all of the scope ring screws. Gently tighten each screw in a cross pattern similar to installing a tire. This will insure the rings are seated equally on the front and rear of the scope.
For the best hold it’s best to let the threadlocker dry over night before firing any shots.
Ocular Focus and Sighting In Your New Scope
Before sighting in your new scope you will want to properly dial in ocular focus. The purpose of dialing in ocular focus is to have a crisp and clear image of your scope’s reticle.

Your eye can focus on a reticle that is slightly out of focus, but this will cause your eye muscles to strain. That can result in eye fatigue if the reticle isn’t properly adjusted.
By aiming your unloaded rifle towards a high contrast background, you can adjust the scopes diopter until your reticle is clearly in focus.

Once your reticle picture is clear, you can start zeroing in your new scope setup!
Project Complete!
Now that you’ve learned how to mount a rifle scope, you are ready to hit the field. This setup makes a great hunting rifle come deer season. With practice at the range, there’s no reason you won’t have a freezer full of venison this winter!