
An easy to follow guide that shows you how to do The Wall Drill to get the most from your dry fire training.
When you think of shooting practice, most people probably imagine a day at the gun range. However, in these days of busy lifestyles (and Covid-19 as I type this), it isn’t always easy or practical to get there. Implementing a few dry fire drills into your training regimen allows you to improve your shooting, even when you can’t make it to the range.
While dry fire practice may not be as fun as real-deal shooting at the range, it can be incredibly productive. The Wall and Balance Drills are a great way to become more familiar and proficient with your weapon right in the comfort of your own home. Plus, these drills allow you to hyper-focus on improving your trigger control, which is one of the biggest factors in consistent and accurate shooting.
What is Dry Fire?
Dry fire is a type of shooting practice that takes you through all the steps of firing your weapon, only without any live ammunition. Dry fire practice, when done right, can help reinforce good habits and build muscle memory. One of the best parts of dry fire practice is that, without any cost of ammo or range fees, it is absolutely free.
Because there is no noise or recoil with dry fire practice, it can be a really effective way to help eliminate the flinch response that often accompanies shooting with live ammunition. The slight anticipation of the recoil and report produced when a shot is fired can have a profoundly negative effect on shooting consistency and accuracy. Dry fire is one way to train yourself out of that negative flinch response.
Will Dry Fire Hurt My Gun?
There is a popular myth floating around the shooting world that dry fire will ruin your weapon. However, in most cases, this myth holds little merit.
If you’re using a rimfire or an older firearm (like an old revolver without a transfer bar), dry fire can potentially damage your firing pin.
However, dry fire is perfectly safe for most modern weapons. If you’re using an older sidearm, or if you’re just overly worried about hurting your pistol, you can always use a Snap Cap or other dummy round during your practice drills.
Safety First
Pulling the trigger on your handgun for practice probably makes you feel a little nervous.
Good. It should. You should always take gun safety seriously, even during dry fire practice.
Unfortunately, “unloaded” guns are often involved in accidental shootings, some of which have had tragic or near-tragic consequences.
You can never be too safe with your dry fire practice. Create a safety ritual that you follow exactly every single time you practice. Gun safety should be a habit so ingrained it’s almost impossible to screw it up. 
The Four Rules of Gun Safety
First, it’s important to follow the Four Basic Rules of Gun Safety, even during dry fire drills. Here are the commandments of gun safety and how they apply to dry fire training.
- All guns are always loaded. Even when you’ve just cleared the chamber. Every firearm should be treated with the same respect it would deserve if it were loaded.
- Never let the muzzle cover anything you are not willing to destroy. Choose the backdrop for your dry fire practice carefully. Find a direction that is as safe as possible, and never lose track of where you point your weapon.
- Keep your finger off the trigger until your sights are on the target. It is never, ever, ever okay to rest your finger on the trigger, even when you believe your gun is unloaded. Your target is whatever you have deliberately and consciously decided it is. In these exercises, your target will be an inside wall. Once you have that wall in your sights, then and only then, should your finger touch the trigger.
- Be sure of your target and what is beyond it. This rule is important to follow, even during your dry fire drills. If you choose a thin interior wall as your dry fire target, you need to know exactly where a bullet would stop if it was accidentally discharged at that wall.
Other Dry Fire Safety Precautions
Before you begin any dry fire drill, you need to safely unload your weapon. Visually and physically inspect the chamber, and then double check just to be sure. If there is someone else in the room with you, have them check it as well. If you have to abandon your training for any reason (if the phone rings or you need a bathroom break, for example), re-clear the weapon before you resume your practice.
You should also remove all live ammunition from the area where you will be practicing your drills. You want to make a conscious decision to reload your weapon once your practice session is over. Having your ammo in a separate room (perhaps even in a location that must be unlocked) is an important dry fire safety precaution. Many accidents occur because someone reloaded their weapon without thinking, and then decided to try just one more rep. Storing your ammo in another location is one small step to help prevent this from happening.
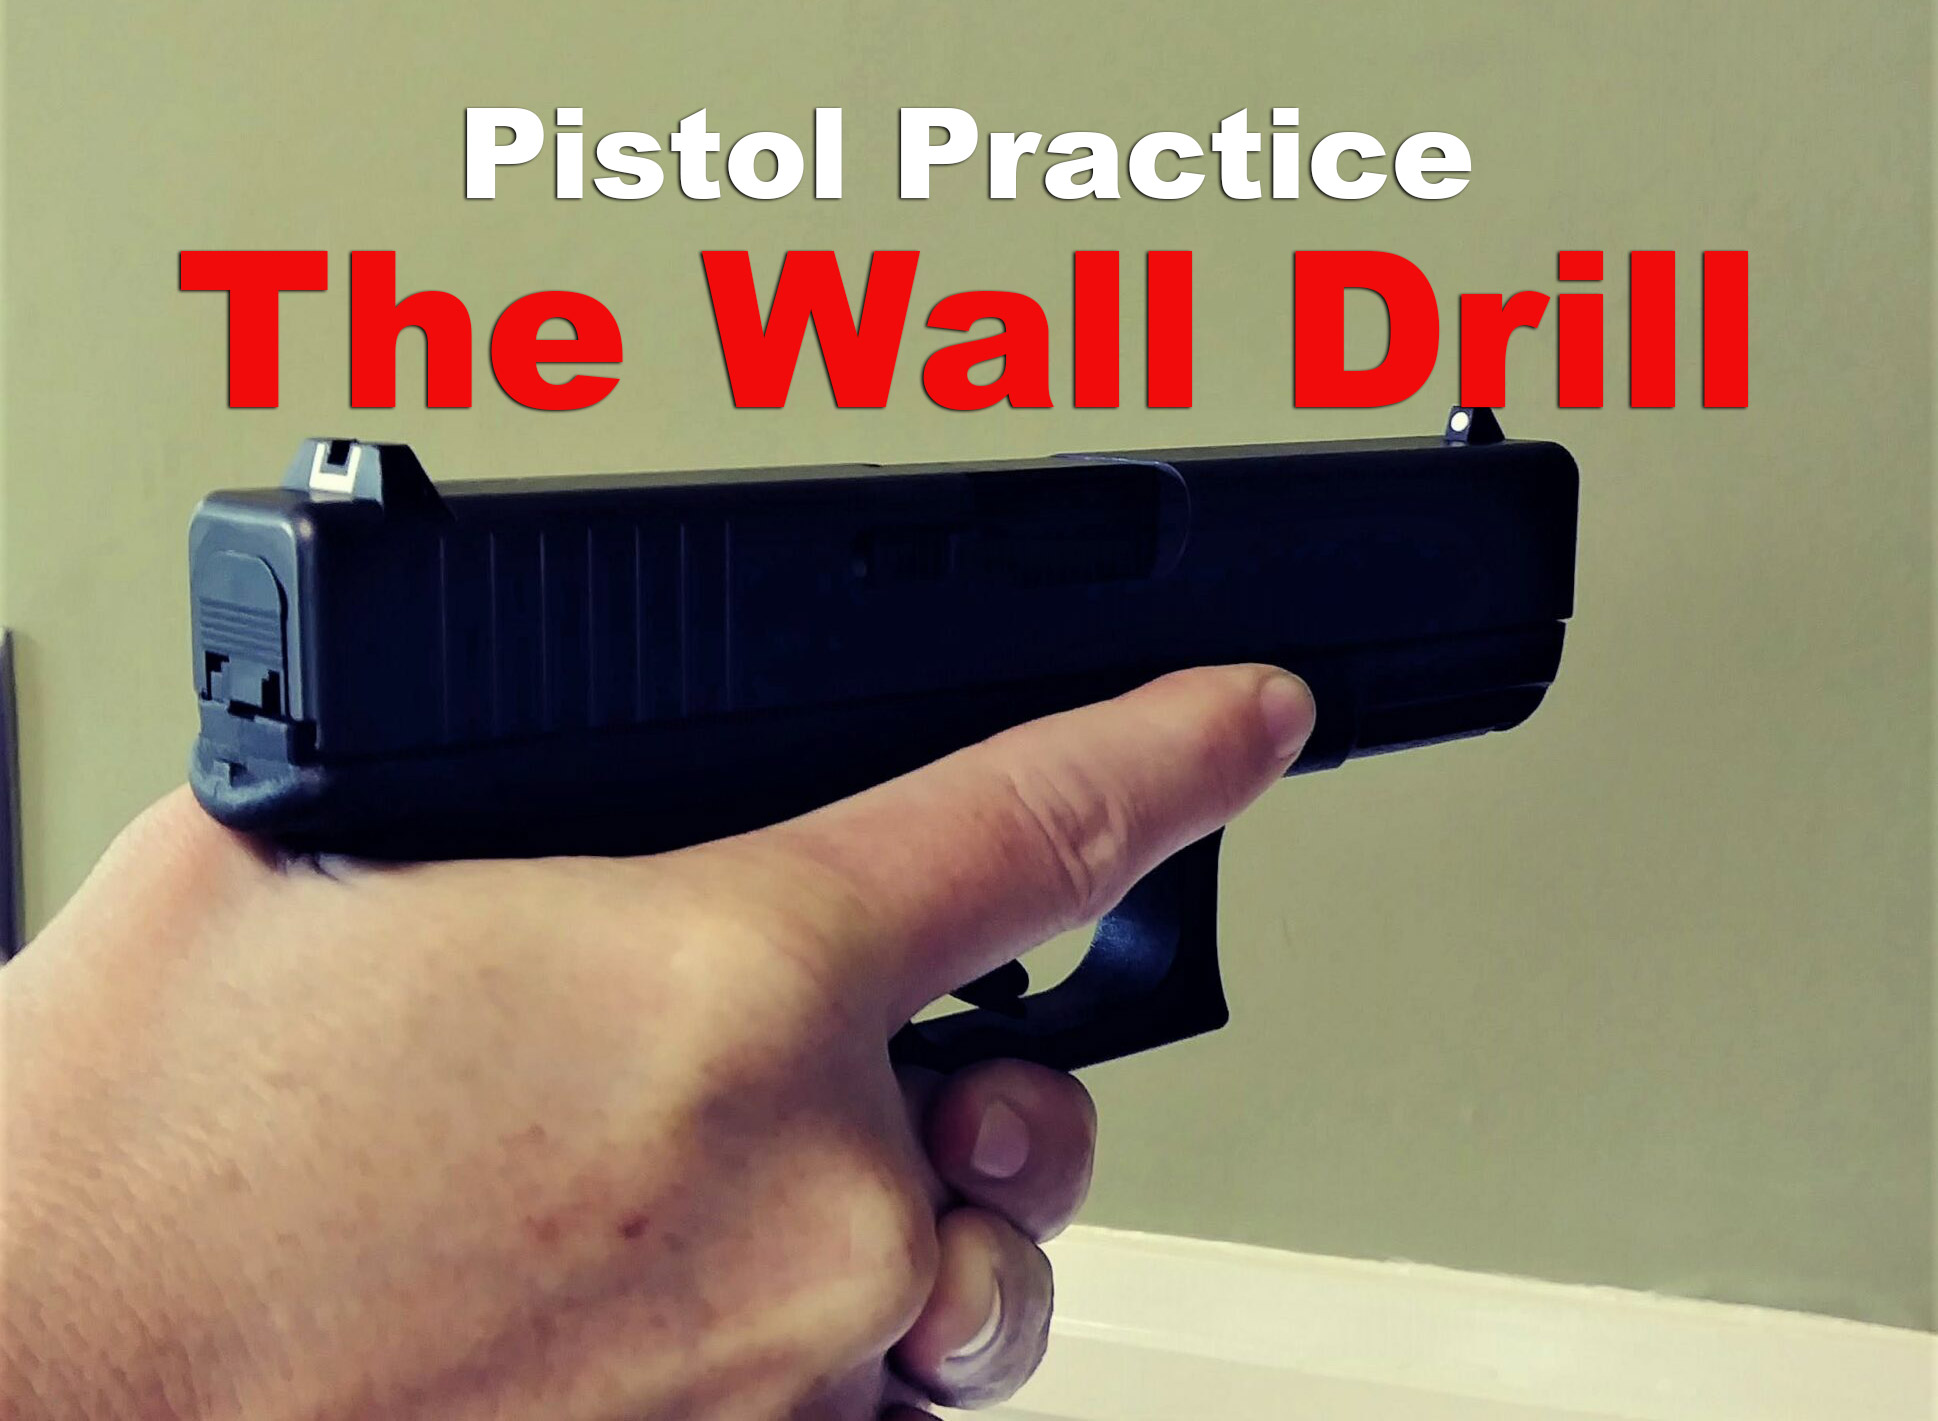
The Wall Drill
What it works: Trigger control
It doesn’t get any simpler than this drill. All you need is your unloaded handgun and a bare wall. The Wall Drill works best if the wall is a light color and free of any potential aiming points (i.e. a picture, light switch, or even any holes or scuffs in the paint).
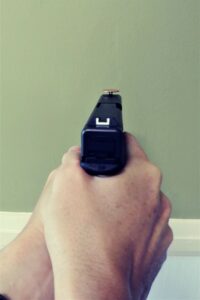
Standing close to your chosen wall, raise your firearm and align the sights. The muzzle of your handgun should only be one to two inches from the surface of the wall.
Place all your visual focus on the front sight post, viewed through the rear sight. Keeping the firearm as steady as possible, pull the trigger.
The goal of the drill is to keep the firearm as steady as possible through the trigger pull. When the gun “clicks”, the front sight shouldn’t move at all. You want to concentrate on keeping your focus on the front sight while pulling the trigger and without upsetting your sight alignment.
You can practice the Wall Drill with a two-hand grip. As you become more proficient, try performing the drill with a strong hand only or weak hand only grip.
Bonus: The Balance Drill
What it works: Trigger control

Also known as the penny drill, the Balance Drill requires nothing more than your unloaded pistol and a penny. You can also use a dime or other coin if pennies are hard to come by.
Balance your coin on the slide somewhere behind the front sight. Then aim at either your empty wall or some other safe aiming point (light switches and scuffed wall paint are perfectly welcome for this dry fire drill). Keeping the coin perfectly balanced and your sights aligned, pull the trigger. The goal is to smooth the trigger pull so that the coin doesn’t fall off due to any sudden or excessive movement.
You can increase the difficulty of this exercise by balancing your penny directly on the front sight post.
Like with the Wall Drill, you can practice the Balance Drill with both hands, strong hand only, and weak hand only.
Summing It Up
When it comes to trigger control, the Wall Drill and Balance Drill are highly effective exercises. Use them in conjunction with your range practice, and you should start to notice measurable accuracy gains in no time.
While these dry fire drills shouldn’t completely replace live fire practice, they are handy tools to keep in your training tool box. They are also the perfect way to preserve or improve your shooting skills when you can’t make it to the gun range.