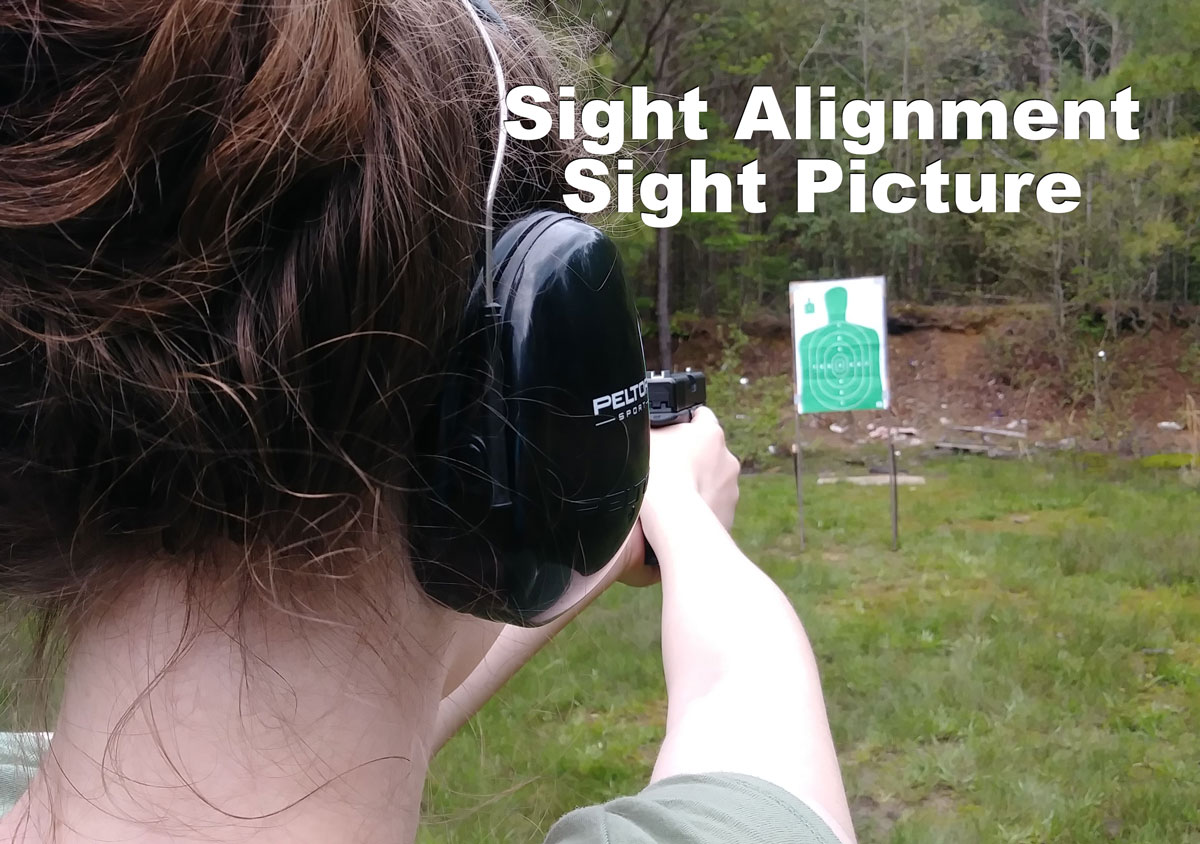

Sight alignment and sight picture are two things the firearms training community pushes all the time. Are you paying enough attention to these fundamentals? If not, it’s an easy way to improve your shooting quickly.
Hitting your target seems like a pretty simple concept. Just line up your sights and pull the trigger and voilà, instant success. Right?
If you’ve spent even five minutes shooting a firearm, you know it isn’t nearly that straightforward.
While proper sight alignment and sight picture are relatively simple concepts, things rarely work that simply in practice. If it did, we’d all be sharpshooters.
Let’s take a closer look at these basics of marksmanship, and how we can properly use these concepts to improve our shooting.
Sight Picture and Sight Alignment – What’s the Difference?
If you’ve spent any time lurking around a gun range or scrolling through online shooting forums, you’ve probably heard the terms “sight alignment” and “sight picture.” These two terms get tossed around a bunch in shooting circles, and unless you had a really good teacher (Thanks, Dad!), you’ve probably heard them used in ways that led you to believe they are the exact same thing.
Although they are related, sight alignment and sight picture are not the same thing. These two concepts are actually quite different.
What’s the difference? Keep reading to find out.
What is Sight Alignment?
Sight alignment is the way you line up your front and rear sights on your firearm. Lining them up properly is crucial to actually hitting your target. Do it wrong, and you’ll be throwing shots in any number of directions.
How to Achieve Proper Sight Alignment
To accurately hit where you’re aiming, your sights need to be aligned for both vertical and horizontal equilibrium.
Before red dots and lasers were really a thing (back when I was marching to and from school uphill both ways), shooters could rely on good old-fashioned iron sights. Even if you like shooting with a red dot, you should still know how to use your iron sights. It’s just a good skill to have. Technology is prone to fail, and iron sights (paired with good shooting fundamentals) are much more reliable.
While sight styles differ from handgun to handgun, the general design and function is the same across the board. You have some sort of post mounted over the muzzle and a rear aperture near the opposite end.
That rear aperture may look like a football goal post or a tiny letter V. No matter what it looks like, the idea is to line up your front post evenly in the notch of your rear sight. This is your horizontal alignment and ensures you won’t miss right or left.
The top of the front sight should also be even with the top of each post. This is your vertical alignment and ensures your muzzle is pointing straight ahead. If the top of your sights don’t line up, your point of impact will miss your mark high or low.
Proper sight alignment is the same whether or not you have an object in your sights.
What is Sight Picture?
Sight alignment (while super important) is only half the equation. The other half is sight picture.
The sight picture is what your eye sees when you have your sights aligned and aimed at your intended target.
For a shot to impact exactly where you want it to, you need to both align the sights properly, AND aim them in such a way (using your sight picture) that you hit the target where you intended. The goal is to marry your point of aim (where you want the bullet to hit the target) with your point of impact (where your bullet actually hits the target).
How to Achieve Proper Sight Picture
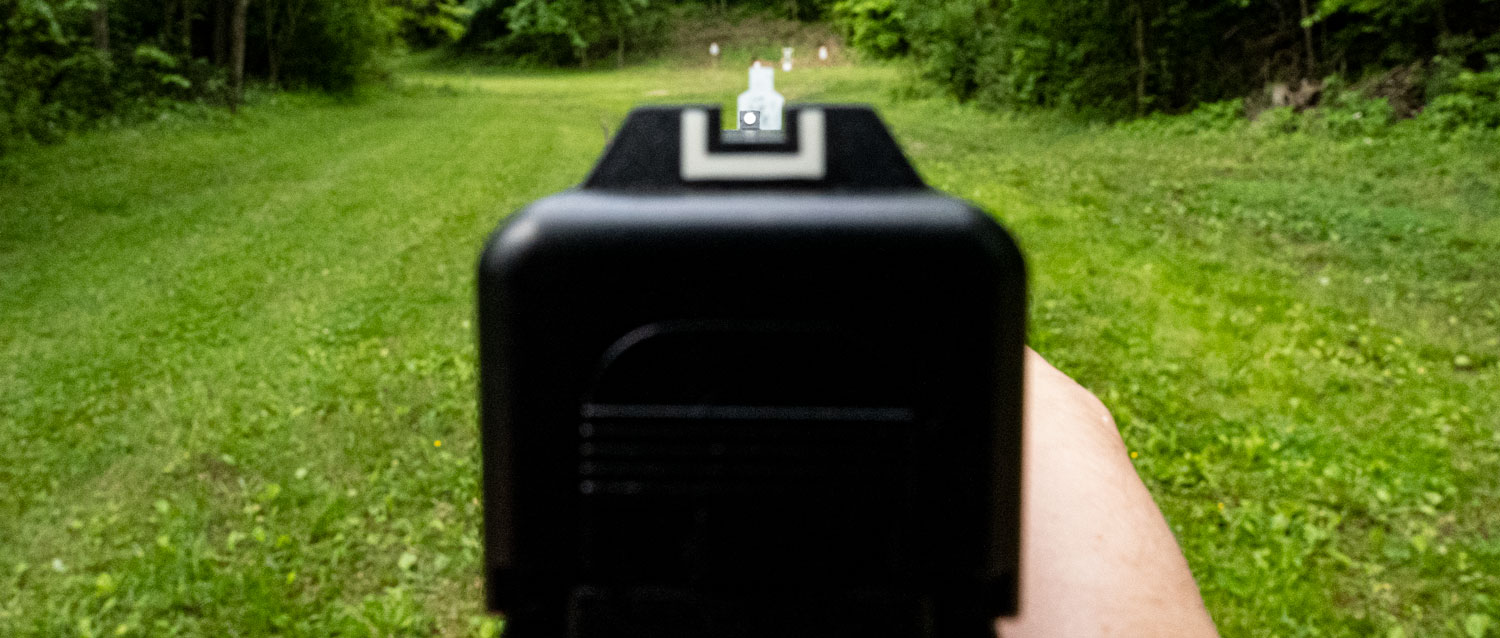
What should your sight picture look like?
As you look down your weapon toward your target (with properly aligned sights), you should see a slightly fuzzy target, a front sight that is sharp and in focus, and a blurry rear sight.
Maintaining focus on your front sight (while practicing proper alignment) is crucial for shooting consistency (and ultimately accuracy).
Of course, the faster you can do this, the better. That’s why you’ll find a lot of trainers and other online resources talking about fast sight picture acquisition. At the end of the day, most strategies come down to one thing: practice. If you put in the time, you’re going to improve. If you don’t, it’s hard to see gains.
Understanding Eye Dominance
Most people are well aware of their dominant hand. It’s the hand you use to write, hold a fork, throw a ball, and pull the trigger. (Approximately one percent of the population can use both hands equally well. Hats off to the lucky few who are truly ambidextrous.)
Just like most people have a dominant hand, they also have a dominant eye. And just like your dominant hand tends to be stronger than the other, your dominant eye is also stronger than your non-dominant eye.
If you’re like the majority of the population, your dominant eye matches your dominant hand. However, some shooters are cross dominant, meaning they are right eye dominant, but left hand dominant, or vice versa. While we don’t have any real, solid research numbers, many experts estimate that around one third of the population is cross dominant.
Plenty of shooters just assume they should aim with whichever eye matches up with their dominant hand. However, understanding your eye dominance is actually more important for accurate shooting than hand dominance.
If you consistently shoot far off to one side of your target, despite having proper sight alignment, you might be aligning your sights with your non-dominant eye.
How to Determine Your Dominant Eye
If you aren’t sure which is your dominant eye, there is a simple test you can do right at home to find out.
 Extend your arms in front of you with your palms facing away and your fingers pointing up.
- Bring your hands close together and form a triangular window with your thumbs and forefingers.
- Look through the window and focus on an object in the distance. It doesn’t have to be far. Something across the room will do.
- Keep the object in focus and centered in the window as you slowly bring your hands toward your face.
- When the backs of your hands touch your face, the window should be over your dominant eye (as long as you maintain focus on the object).
If you still aren’t convinced, you can confirm your results with this easy test.
- Extend your dominant hand and point to a distant object. (Be sure to keep both eyes open.)
- Now, shift your focus from the object to your outstretched finger.
- While focusing on your index finger, close first one eye and then the other.
- When one of your eyes is open, your finger should cover the object. This is your dominant eye.
- When the other eye is open, the object should seem to shift slightly, leaving your finger pointing off to the side. This is your non-dominant eye.

View with dominant eye vs view with non-dominant eye
Eyes Open or Shut?
Like most things in the shooting world, there are strong opinions about whether you should aim with both eyes open, or if you should close your non-dominant eye. The problem is, many instructors believe there is one (and only one) correct way to shoot. Unfortunately, this one-size-fits-all approach doesn’t leave much wiggle room. After all, shooters come in all shapes and sizes, so forcing everyone into the same shooting mold just isn’t practical or effective.
Different shooters also have different strengths and weaknesses. When it comes to eye dominance, some have a really strong dominant eye with a relatively weak non-dominant eye. For others, there may be little to no difference in the strength of each eye.
Shooters with one extra strong eye may find it easier to shoot with both eyes open.
However, a shooter with a low dominance factor may find it easier to align sights and target if they limit the input from one eye. Shooters with relatively equal eye strength typically shoot more consistently if they squint, close, or cover their non-dominant eye.
Of course, this is assuming that precision accuracy is the ultimate goal. Unfortunately, success at the shooting range doesn’t always translate to dynamic, real-life shooting situations.
Bullseyes are static targets at known distances. Shooting targets allows you to focus on technique and get lead within a relatively small circle on a non-threatening piece of paper (or ping steel if that’s more your style). Marksmanship is one valuable shooting skill.
A lot of people think success at the shooting range will magically prepare them for dynamic, real-life shooting scenarios. However, the techniques you hone to make consistent precision shots at stationary bullseyes, don’t always carry over to other situations. There’s a big difference between putting lead on paper and hitting moving targets of variable sizes, probably while seeking cover. Especially when those targets may be lobbing bullets back in your direction.
Tactical and self-defense shooters need the input from both eyes. Closing one eye limits depth perception and severely reduces peripheral vision, two valuable assets when moving and engaging dangerous targets.
Teaching New Shooters

Brand new shooters, particularly those who’ve never handled a firearm, often find it helpful to close their non-dominant eye. With only their dominant eye open, novice shooters can focus on proper sight alignment and sight picture. Once they understand how to align sights with the target, and are familiar with what that looks like, they will be better able to maintain proper form when shooting with both eyes open.
Where To Place Your Sights
We’ve covered the basics of sight alignment and sight picture, but we haven’t talked about exactly where you should place your sights on the target.
Hold refers to the part of the target where you place your sights once they are properly aligned. Although sight alignment is a consistent concept across the board, the hold may change with distance or even from gun to gun. The key is to spend some time at the range and become familiar with which hold works best for you and your weapon.
If you want to win precision shooting competitions (or even just win bragging rights with your range buddies), you need to know how your handgun sights are designed to work.
Here are the three most common sight holds.
Combat or Frame Hold – The center of the front sight post is centered on the bullseye. If your handgun has a dot on the front sight, place the dot so that it covers the bullseye.
Six O’Clock Hold – The front sight sits directly under the bullseye, so that it almost looks like a lollipop on a stick.
Center Hold – The top of the front sight is positioned so that it bisects the bullseye horizontally.
Final Thoughts
A day at the range is a lot more fun when you’re hitting targets. Proper sight alignment and sight picture are crucial to hitting targets, and therefore the key to having more fun. However, these are just part of the fundamentals of shooting. Proper sight picture and alignment work in conjunction with proper stance, grip, trigger and breath control.
If you want to be a better shooter (and have more fun at the range), focus on the basics until they become second nature. The only way to do that, is to practice.