
A look at some tips after you take your shot while deer hunting. We’ll walk you through field dressing to processing your venison.
Serious deer hunters spend countless hours preparing for opening day of deer season. Because whitetails are such tricky animals, a successful hunt takes substantial preparation. Lots of patience, planning, and practice are invested to hopefully get an opportunity to pull the trigger on a big broadside buck. However, few hunters prepare for what to do after the shot is fired.
Every hunter needs a solid plan for what to do after the shot. It is just as important as the plan that got you there in the first place. The hunt isn’t over when you pull the trigger. A responsible hunter needs to recover game quickly and maximize the quality of venison from the kill.
Here is a basic breakdown of what to do after your broadhead or bullet makes contact with a whitetail.
Keep Your Eyes and Ears Open
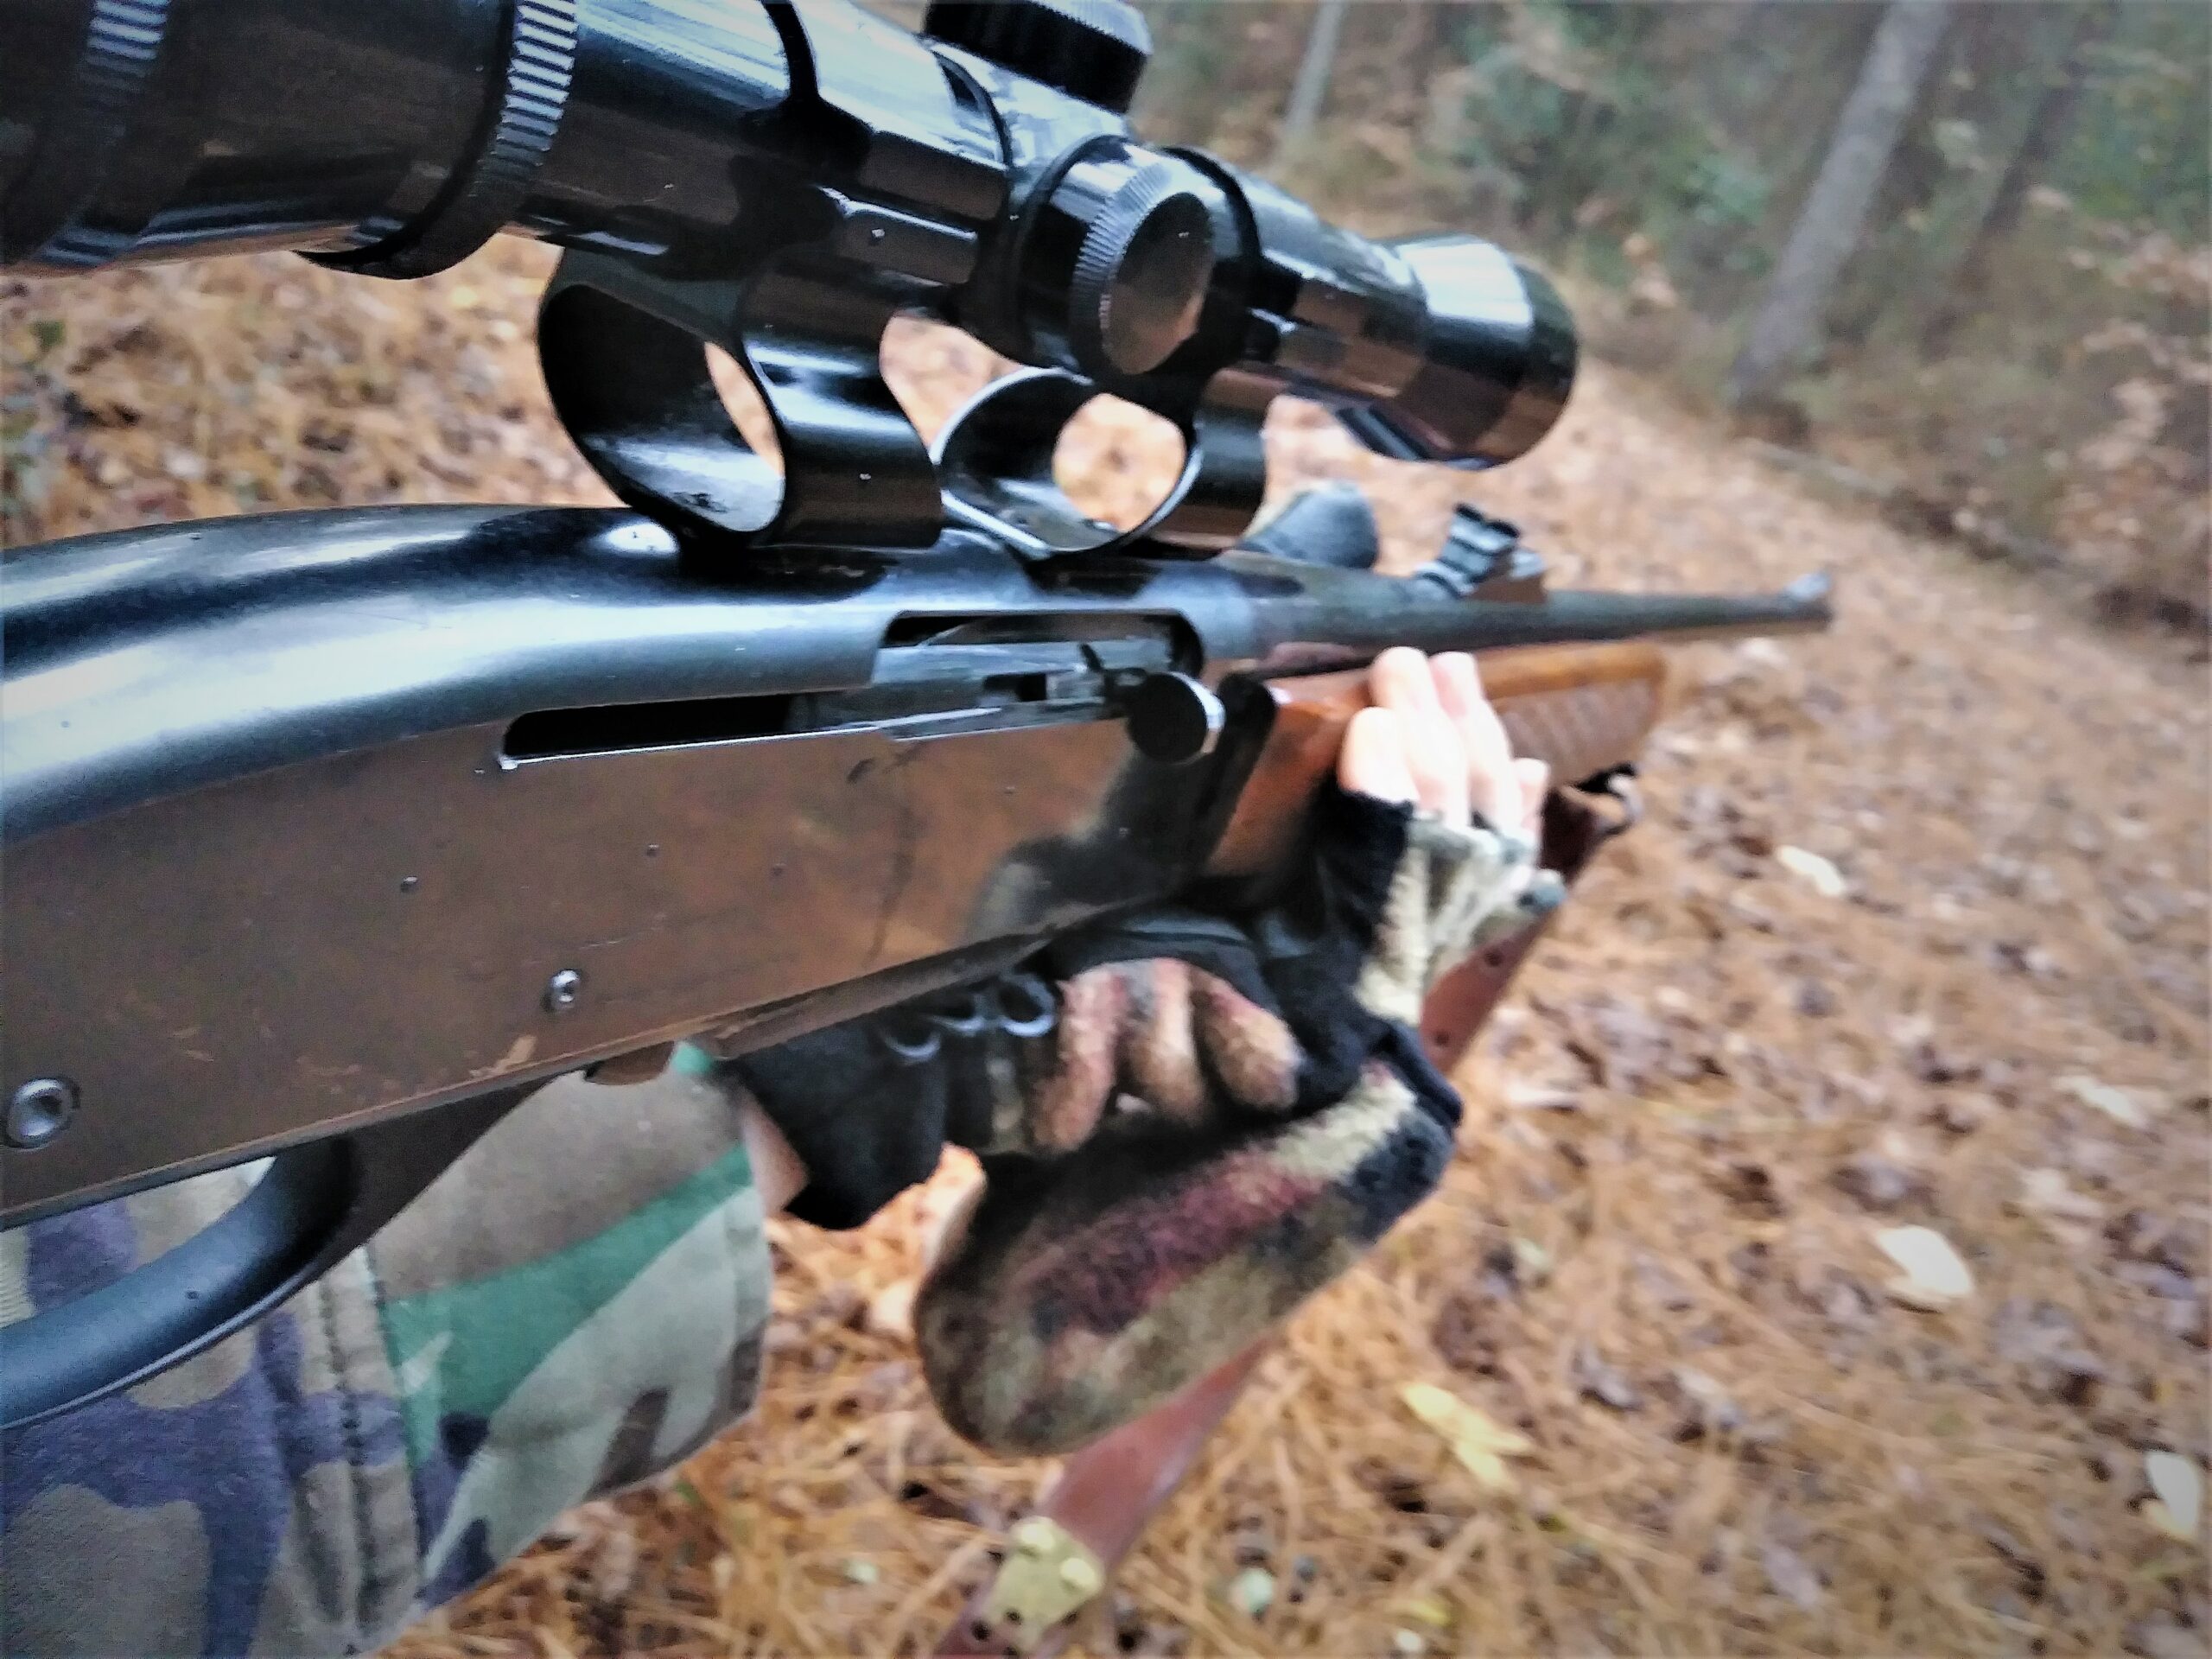
Having big buck lined up in your sights is a thrilling experience. Even the most level-headed hunter will experience the effects of spiked adrenaline. Leading up to (and immediately following) your shot, you will have to deal with sweaty palms and rapid breathing. You may even get a bad case of the shakes. It is easy to lose sense of reality in those first seconds following the trigger pull, but this is when you really need to focus and remain calm.
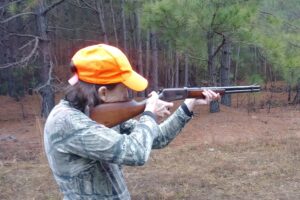 It isn’t time to celebrate just yet. Instead, focus. You need to pay attention. Get your eyes on the deer. A deer’s behavior immediately following a shot provides valuable information.
Few deer drop dead where they stand, even when a shot is well-placed. If a deer jumps or kicks after the shot, this is a good indication he’s been hit. He may scramble with his tail pinned down tight, zigzagging through the brush as he goes. These are all good signs.
Don’t just study how the deer is running. Also, pay attention to where he is running. Make a mental note of the spot where you lost sight of him. This all happens quickly, but capturing details is important. Luckily, that adrenaline surge pays off with sharpened senses. Use them to your advantage.
After you’ve lost sight of the deer, use your ears. Listen for sounds of falling, kicking, and struggling. You may hear a series of crashes as the deer falls repeatedly, struggling to get back on its feet. You may also hear wheezing as the deer struggles.
Whatever sounds you hear, make a mental note of distance and location relative to landmarks visible from your stand. These mental notes will be valuable tracking tools, especially if you have trouble finding a blood trail.
Patience is a Virtue After the Shot
Even though your body is experiencing an adrenaline overdose, fight the urge to jump up and pursue the deer you just shot. That buck is experiencing an even bigger adrenaline surge than you are. An injured deer can run a long way before it realizes it’s actually dead. I once shot a doe that ran a full 100 yards with a heart that looked like hamburger. Do not underestimate the ability of an injured deer to get away from you.
If left unpressed, an injured deer may just lay down and die. However, if you get too close, he may jump up and run further. This is especially important for bowhunters to remember because deer taken with an arrow have to bleed. Broadheads cause less shock and tissue damage than bullets, so death typically comes more slowly during archery season.
Most bowhunters agree you should sit tight for at least 30 minutes (some suggest up to several hours) before tracking an injured deer. If hunting with a rifle, most hunter’s still suggest waiting at least a half hour. Take this time to calm your nerves.
Weather and approaching dark may force you to take action sooner. However, before you move from your stand, review the mental footage of the shot. It is important to mark the exact spot the deer was standing when you pulled the trigger. Pick a crooked branch or odd tree stump as a visual marker. It is more effective to pick this marker before you leave the stand. That spot will be harder to locate once you start moving through the woods. Also, mark the place you lost visual contact with the deer. These are two key places to begin your search.
Following a Blood Trail
First, look for signs of blood where the deer was standing when you shot. If you don’t find anything there, travel the path between that spot and the place you lost sight of him. Once you’ve spotted blood, mark it. If you lose the trail, you may have to double back and find it again.
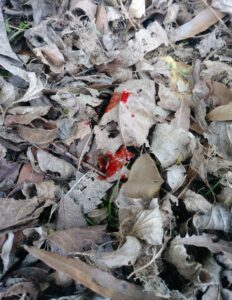 Use something highly visible to mark each drop of blood along the trail You can use bright trail tape, but toilet paper works just as well and is biodegradable. If you have GPS, you can use waypoints to mark these spots. Both methods help create a visual image of the path the wounded animal was traveling.
You don’t want to mess up the blood trail, so be sure to follow it off to one side. Be careful not fixate on the ground. As you travel, keep your eyes up. Look for blood and hair on trees, bushes, or anything else the deer might have brushed against as it was moving. Also, keep a watch ahead to see if you can catch sight of an antler or white underbelly contrasting against brown leaves.
If the blood trail is sparse or non-existent, look for leaves the deer kicked up in its struggle to get away from danger.
Blood Trackers
While an experienced hunter can probably follow even the faintest blood trail, novice hunters might need some extra help. If you have a buddy to help you track, two eyes are always better than one.
A blood tracking dog can be invaluable for tracking wounded game, especially when an injured deer isn’t losing much blood. Unfortunately, not everyone has access to one of these highly-trained hounds, and in some states, hunting with dogs in any form is illegal.
Another option is a blood tracking light. Contrary to what late night crime drama suggests, blood does not glow like magic under UV lights. Blood tracking lights aren’t really all that high tech. They are just simple LED flashlights that illuminate in the blue to greenish-blue spectrum. The colored light creates a higher contrast between blood (especially hard-to-follow dried blood) and brown leaves.
Proceed With Caution
Injured animals are dangerous, so be prepared. Move slowly and pay attention. Have an arrow nocked or your gun loaded. To avoid serious injury, make sure the deer is dead before you approach it. There are plenty of stories from hunters who were gored by a buck they thought was already playing harp with Saint Peter.
Exhaust All Possibilities
It is your responsibility as a hunter to do everything you can to recover any game you’ve killed. If a blood trail runs dry, try fanning out and searching the area methodically, widening the search field as you go. Sometimes, however, despite our best efforts, injured animals seem to disappear into the woods. If you don’t recover the animal you injured, you will rest easier knowing you did everything you could to find him.
 Field Dressing
 Field Dressing
Field dressing your deer should be done as soon as possible to ensure rapid loss of body heat and preserve the quality of the meat. A sharp, sturdy knife is key to safe and efficient field dressing. Choose a knife with a blade at least four inches long with a large, non-slip handle. A small knife with a slick handle is dangerous. Field dressing is messy business, and you don’t want a knife slipping around in your hand once its covered with gore.
You can find more detailed instructions for field dressing here.
Transport Your Deer
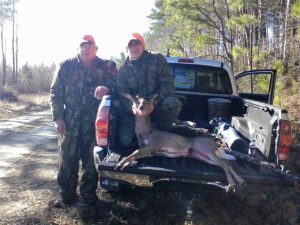
Transporting a deer back to civilization can sometimes be difficult. Unless you shoot a deer close to the road, you won’t be able to lift it directly into the bed of your truck and drive it back to deer camp.
Dragging a deer out of the woods is difficult work. It is perfectly okay to just grab an antler and start pulling. Other options include fancy deer sleds and carts. Whatever method you choose, try to keep the inside of the carcass as clean as possible.
 Hang ‘Em High
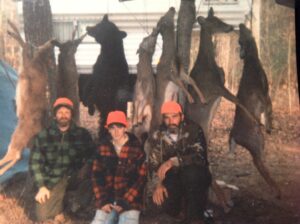 Hang ‘Em High
Once you have your deer back at camp, you’ll want to get the carcass off the ground. Some hunters prefer to hang their deer from the head, others prefer to suspend them from the back legs. Whatever method you choose, let the deer dangle to allow any remaining blood to drain. Hanging also puts the deer in the perfect position for skinning.
Once you have the deer hanging, resist the urge to rinse it out with water. While this will remove dirt and debris, moisture also creates the perfect habitat for microorganisms that will spoil your meat.
Skinning
In colder weather, deer can hang for several days before they need to be skinned. If the outdoor temperature is below 40 degrees, a deer can hang for up to a full week. This also lets the meat age. Just like beef, venison can benefit from a few days of dry aging. Natural enzymes will begin to break down muscle tissue improving the texture and flavor of the meat.
In warmer weather, you’ll want to skin and process the meat more quickly. Skinning is actually easier when the body is warm, so you can get down to business sooner if you need to. You can even start while the carcass is still draining.
To remove the hide, use a sharp knife to cut around the bend in each leg. Next, cut along the inside of the leg toward the deer’s body until the cuts join the opening from field dressing.
Carefully work the skin away from the hind quarters, pulling with your hands while you use the edge of your knife to separate the skin from the muscle. Once you have a good amount of hide separated, a firm grip and a study tug should be enough to pull the skin away all the way down to the front shoulders. If you have trouble, use the edge of your knife to coax the hide from the carcass.
Once you reach the front shoulders, use your knife to remove the hide from around the leg joints. When you’ve separated the hide all the way down to the neck, use your knife or a bone saw to remove the head from the carcass.
If you want to preserve the cape and head for mounting, you’ll need to be extra careful. There are plenty of caping videos online to walk you through the process.
Processing Your Venison
A freezer full of venison is genuinely satisfying. However, improper processing can leave you with tough, inedible meat. Butchering a deer is a complicated process. If you aren’t sure how to process your venison properly, it might be best to hire a professional. For a fee, a professional butcher can take a deer carcass and turn it into carefully packed and processed roasts, steaks, hamburger, and sausage for you and your family to enjoy.
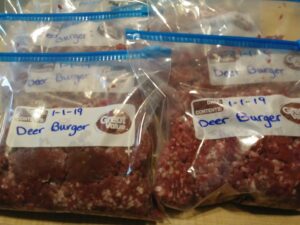 Whether you process your own or leave it to a professional, be sure all packages are labeled not only with the cut, but also with the date. According to USDA guidelines, venison stored between -12 and -18 degrees Fahrenheit should be used within 12 months for best quality.
While planning your hunting strategy is important, don’t neglect to devise a plan for after the shot. Remember, the hunt isn’t over when you pull the trigger. There is still plenty of work to be done.